The integration problem: why this feels harder than it should
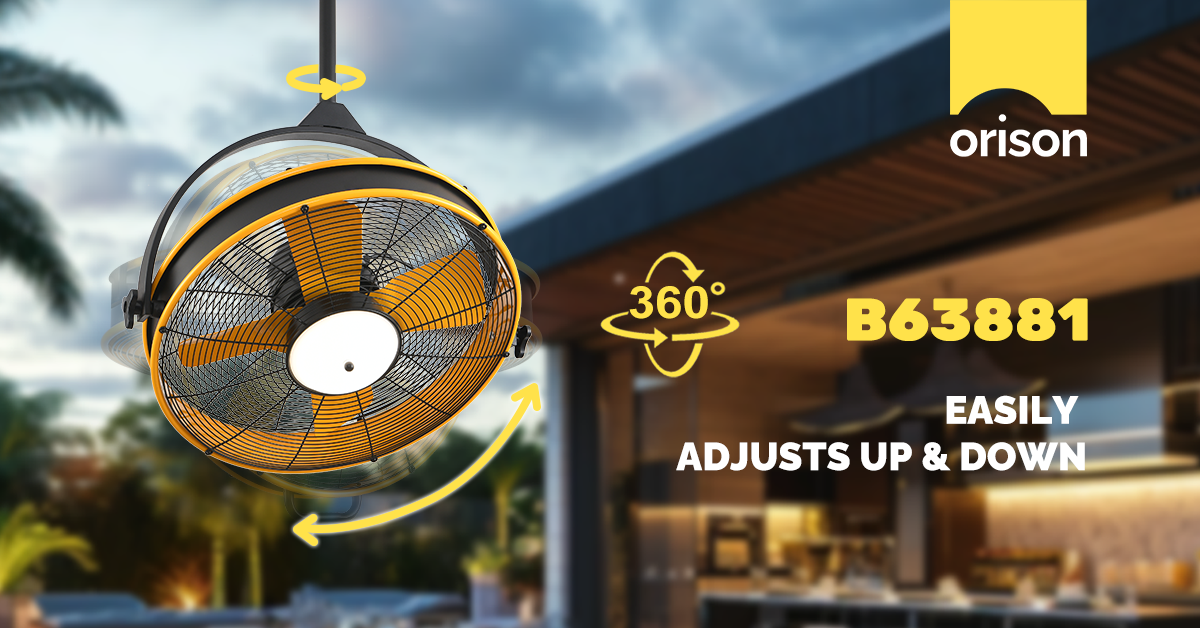
Homeowners and installers increasingly want a single point of control for lighting and climate, but a flush‑mount outdoor ceiling fan with light introduces three overlapping challenges: weatherproofing, control protocol mismatch, and safe power handling. The most common outcome is partial automation—lights respond to schedules, the fan does not—because the device and the automation hub use different standards. If you’re investigating ceiling fans with light, this guide explains the constraints and practical fixes so your outdoor fixture behaves like an indoor smart device.
Primary compatibility constraints to check first
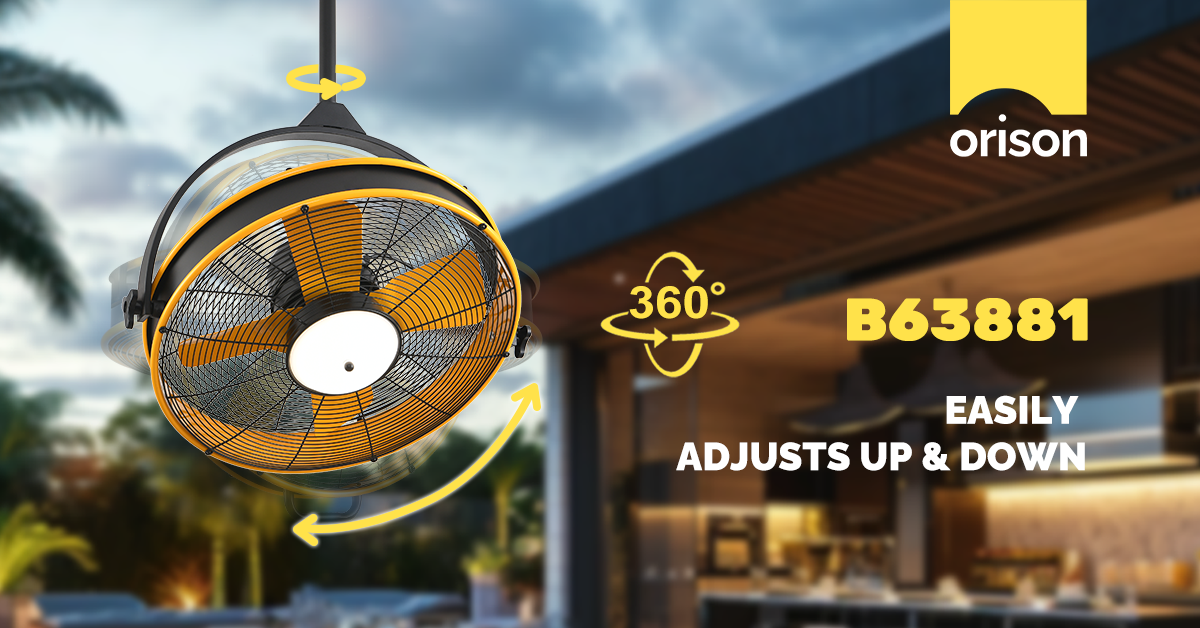
Start by validating three technical factors: electrical wiring, network protocol, and environmental rating. Wiring matters because many flush‑mount outdoor fans expect a single switch leg for both fan and light; splitting control can require an additional neutral or a fan controller. Network protocol (Zigbee, Z‑Wave, Wi‑Fi) dictates whether the fan pairs natively with your hub or needs a bridge. Finally, the IP rating and damp‑rated versus wet‑rated classification determine whether the fan’s electronics can safely sit under an eave or exposed soffit. Confirming these up front prevents wasted returns and unsafe installs.
Quick diagnostic: what to ask before buying
Use this checklist at the product page or during vendor calls:
– Does the unit provide separate leads for fan motor and light kit?
– Which protocol is supported natively (Wi‑Fi, Zigbee, Z‑Wave, Thread)?
– Is the fixture wet‑rated or only damp‑rated?
– Is there an available firmware update path and documented pairing procedure?
– Will the hub accept multi‑endpoint devices or require a virtual device per function?
These questions identify integration friction early and reduce surprises during commissioning.
Step‑by‑step integration workflow
Follow a structured sequence when adding the fan to an automation system:
1) Pre‑install verification: match the fan’s wiring diagram to your ceiling box and confirm breaker capabilities. 2) Local pairing test: power the device, attempt native pairing with your hub, and note whether the light and fan appear as distinct entities. 3) Bridge option: if pairing fails, evaluate a bridge or gateway—many smart fans require a vendor bridge to translate between proprietary firmware and open hubs. 4) Automation logic: map scenes, schedules, and sensor triggers (temperature, motion) to the fan and light separately to avoid unwanted interactions. 5) Field test: run a week of scheduled and manual tests to catch edge cases like power‑cycle behavior or hub reconnection delays.
Common mistakes and how to avoid them
Installers and DIYers repeat a short list of errors. First: assuming “smart” means hub-compatible. Many fixtures are app‑only via cloud services, which breaks local automation goals. Second: misreading ratings—using a damp‑rated fan in an exposed coastal location invites corrosion and early failure. Third: underestimating EMI or signal drop near metal roof structures, which can impair Zigbee or Z‑Wave range. A practical mitigation is deploying a small powered repeater or choosing a Wi‑Fi enabled model with strong 2.4 GHz performance—simple, but effective. —
Comparing hub strategies: cloud, local, and hybrid
Choices here hinge on priorities. Cloud‑first systems simplify remote access and voice assistant integration but add latency and potential outages. Local hubs (Home Assistant, Hubitat) provide deterministic behavior, better privacy, and offline operation—valuable when controlling fans that affect safety or comfort. Hybrid setups use a vendor bridge to preserve local rules while keeping cloud features; they’re a pragmatic compromise for mixed ecosystems where, say, a proprietary fandelier ceiling fan offers unique styling but limited native hub support.
Common hardware pairings and wiring notes
For flush‑mount outdoor fans, expect three common wiring patterns: single feed (fan+light on one switch), dual feed (separate switches), and smart controller feed (line and switched outputs). If your home lacks a neutral in the ceiling box, select controllers designed for no‑neutral installs or hire an electrician to run a neutral. Also consider a dedicated fan controller capable of PWM dimming for the light and variable fan speed control to avoid motor hum and ensure smooth startup.
Real‑world anchor and regulatory considerations
Practical choices often reflect regional realities. Coastal installations around Miami and other hurricane‑prone areas require wet‑rated fixtures and corrosion‑resistant hardware; insurers and local codes can be strict about rated equipment. Also recall the supply disruptions of 2020–2022, which pushed many installers toward stocking interoperable controllers rather than model‑specific parts—an operational lesson that still matters when sourcing replacement components.
Advisory: three golden rules for a reliable integration
1) Validate the device at the bench: test pairing and endpoint behavior before final mounting. 2) Prioritize local control capability: ensure your hub can run automations without cloud dependency. 3) Match environment rating to site conditions and specify corrosion‑resistant fasteners for coastal installs. These rules let you forecast installation time, likely troubleshooting, and replacement costs with confidence.
When you want an integrated, durable solution that won’t complicate your hub logic, choose products and partners that document wiring, IP ratings, and pairing steps clearly—often the difference between a smooth setup and repeated service calls. Orison. —