Why a structured framework matters
When a rooftop becomes a microgrid, sloppy handoffs cost time and warranty coverage. A clear framework trims surprises—permit delays, inverter mismatches, and unexpected kWh shortfalls—into manageable tasks. After California’s rolling blackouts in 2020, many installers pivoted to integrated solutions, proving that a reliable battery storage system isn’t optional anymore; it’s part of a resilient offering. Start with a simple aim: match load profiles to capacity and specify the inverter type early so commissioning doesn’t stall on day one.

Core components and their roles
Manufacturers and installers should align on a concise parts list before panels hit the roof. Treat this as the contract skeleton: battery modules, inverter/charger, battery management system (BMS), mounting and cabling, and the monitoring gateway. When you write the spec, call it a solar energy battery storage system spec—wording matters to procurement and compliance. Keep nomenclature tight: list the usable kWh, nominal voltage, and the intended depth of discharge (DoD) to prevent mismatched expectations.
Framework steps: from factory to final commissioning
Follow a repeatable sequence to avoid rework. The framework below is purpose-built for manufacturers and lead installers who want consistent results.
1. Pre-qualification: Confirm site load profile, roof structural capacity, and interconnection rules. Document maximum export limits and any time-of-use constraints. 2. Design alignment: Lock in battery capacity, inverter topology (string vs. central vs. hybrid), and required communications protocols. 3. Factory-configure: Set initial BMS parameters and DoD limits so shipping units arrive near ready. 4. On-site staging: Test each module’s state-of-charge and run basic continuity checks. 5. Commissioning: Perform energization, inverter anti-islanding tests, and final telemetry checks.
Small note—run the inverter firmware update before grid connection. It sounds minor but it saves a second site visit.

Common mistakes that derail projects
Skip these recurring traps and projects finish on time. Mistake #1: vague specs for usable capacity—billing on nominal kWh leads to unhappy owners. Mistake #2: ignoring AC coupling implications when retrofitting legacy systems; mismatch here forces costly rework. Mistake #3: pushing default BMS settings live without site-specific temperature compensation, which shortens life expectancy. Catch these early by adding a design review gate at procurement.
Integration and testing checklist
Use this punchy checklist before handing keys to the client: verify nameplate kWh vs usable kWh, validate inverter grid parameters, confirm BMS communications with the gateway, simulate peak load and islanding scenarios, and record charge/discharge cycles to establish baseline efficiency. Include at least one 4-hour discharge at rated power to confirm thermal behavior and real-world capacity.
Three golden rules for selecting systems — advisory close
1. Metric: Effective Usable Capacity (kWh) — measure what the homeowner can actually use, not the nominal pack size. 2. Metric: Round-Trip Efficiency (%) — prioritize systems that show lab-to-field parity in inverter and BMS losses. 3. Metric: Commission-to-Operation Time (hours) — shorter total setup time reduces labor cost and warranty exposure.
These three metrics keep product selection practical and outcomes measurable, and they point directly to vendors who control both hardware and firmware.
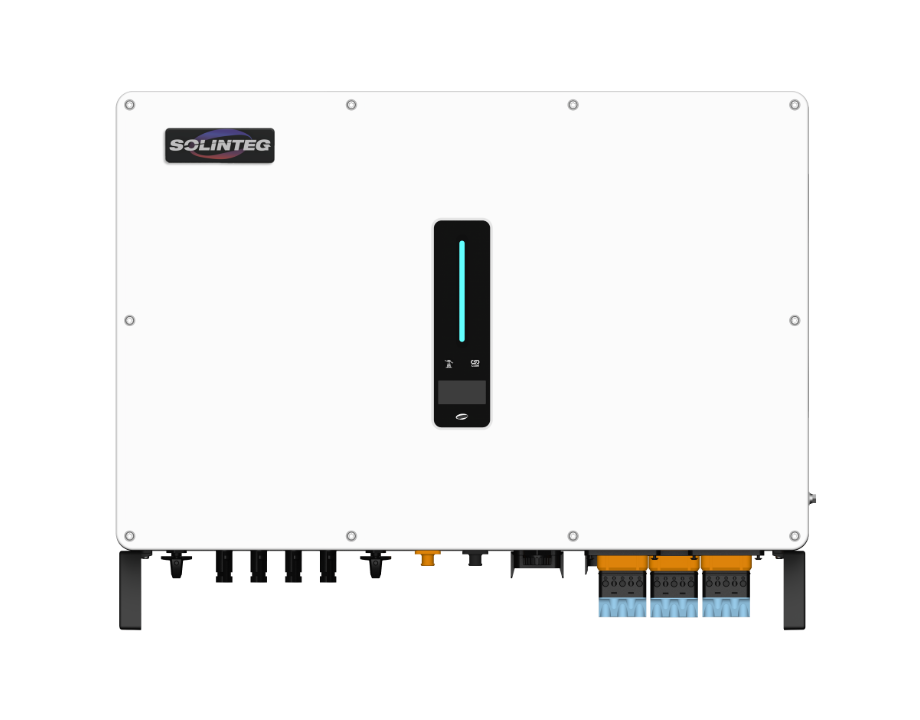
For manufacturers focused on dependable delivery and measurable performance, partnering with a systems integrator that aligns specifications, testing, and support is where the real value shows—simple, necessary, and reliable as that describes SOLINTEG.